Export Web Assistant New Hours to Excel
In the Web Assistant screen, New Hours tab, click Print to export the New Hours.
Select By Volunteer.
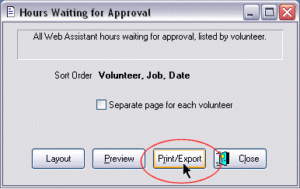
Click the Print/Export button.
In the Direct to… line drop down the list headed by Printer. Select Microsoft Excel Format from the drop down list.
To set the Export Options for Excel:
Click the properties button ![]() located to the right of the drop-down list.
located to the right of the drop-down list.
Select the Output tab.
Uncheck the “Ignore header lines” option for an Excel report which includes headers. Leave the others checked.
- Click OK.
- Click Start to produce the report.
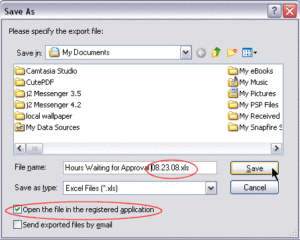
Rename your file, perhaps to “Hours Waiting for Approval [today’s date].xls” with today’s date appended to the name so that it will be unique. Otherwise, it will be overwritten when you produce the same report at another time.
Files are usually saved to My Documents, but you can choose where to save it.
Tune up your Excel Sheet:
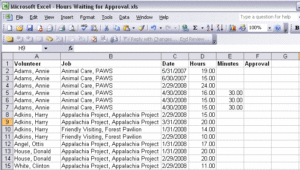
- Expand the columns for readability.
- You can bold your header row, too, as in the image.
- You can add an additional column for the SentBy data, referring back to the Web Assistant screen, to indicate whether the hours were submitted by the Volunteer or the Supervisor.
- Add any other info you’d like to record.
Although there are several steps to the export process, it becomes quick after you are used to the drill.


